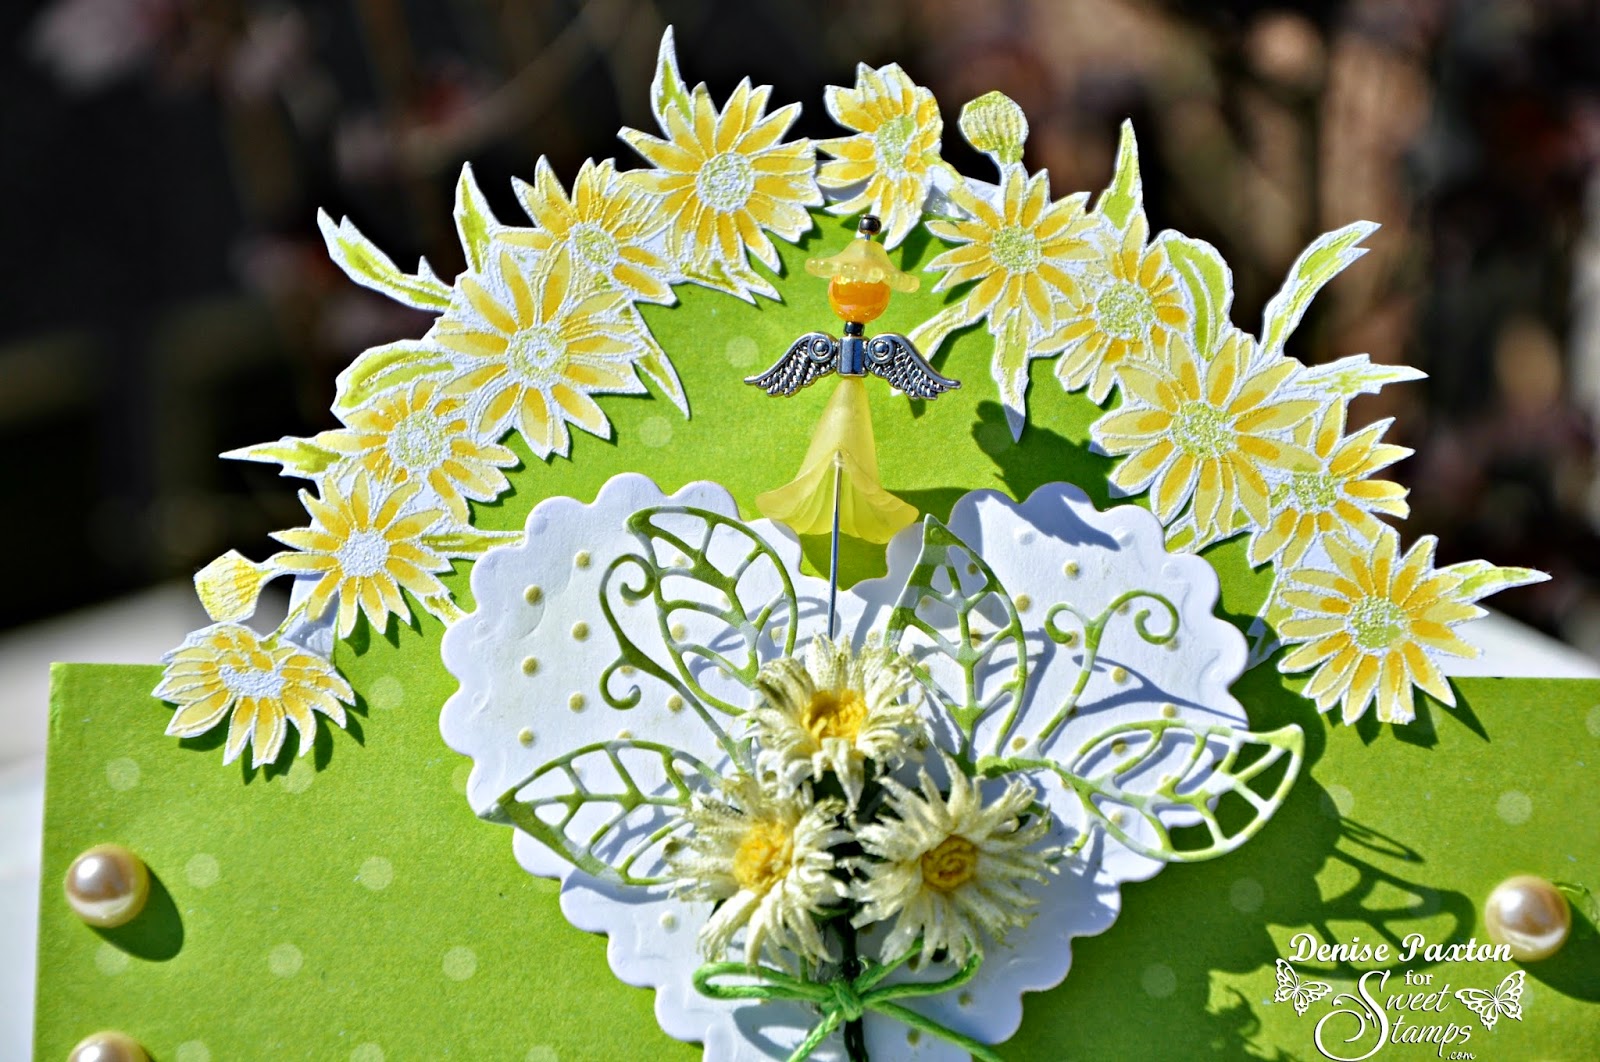
Well here is my take on it with a tutorial!
I made a 8 X 8 Card front with a Teal Blue card stock
Layered with DP
Distressed the edges with Faded Jeans from
These flowers were made of used Dryer Sheets
There is 4 layers of used dryer sheets and then layered on DP die cut flower
Keeping together with a Pearl Brad
I used 3 different DP die cut flowers
I cut some leaves out of a SweetCuts die from SweetStamps.com
Tutorial
Used Dryer Sheet Flowers
Do not throw your used Dryer Sheets After Tumble Drying you cloths
Keep them and you can make Flowers
I used the plain circles die cut from Spellbinders
Cut 4 different size circles out of the Dryer Sheet
You could also just cut circles or shapes by hand
Just as long you have more than 3 layers to form your flower
I took 2 sheets and sandwich a bit of copy paper in the center,
I find this give you a more clear cut
Take the 3 larger circles and fold each one in the half and half again and again, 4 fold
now you should have a triangle
Cut the left and right side corners off
Fold open and you will have 8 Petals
Repeat until all your layers are done
Lay your small circle, this is the center of your flower,
and the other 3 layers on a bit of Kitchen Towel
Use a very fine water sprayer, you can at this point also add colour to your water,
and spray the layers with the water
When wet, just crunch the pieces and give some dimension to your petals
You can at this point use your Heat Gun,
but
be careful, you could scorch it and it can shrivel up
I just left mine to dry
I took Stickles and went round the edges of each layer
This will identify each layer
I left mine over night to dry properly
To put your flower together:
I used a Pearl brad
You can use your Poky Tool to make a small hole in the center of each layer,
so that you can put your brad tongs through
Start with the smallest and end with the biggest
After put all the layers on, just open the brad tongs at the back
to keep your flower together.
Now you can shape your flower.
It is as easy at that!


